
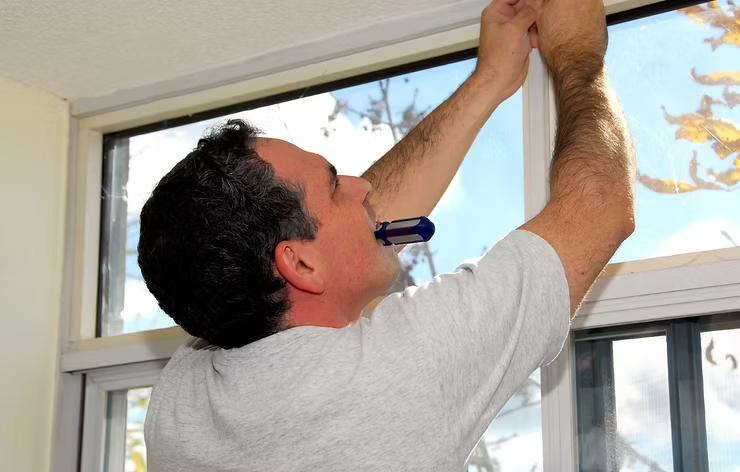
How to install a cable duct on your ceiling for a lamp?
 Thom Nierop
You've just bought a beautiful new lamp, but there's one problem: the cables dangling through your room aren't exactly an aesthetic highlight. Fortunately, there's a simple solution: a cable duct on the ceiling. This is an easy way to neatly hide the cables and make your space look sleek.
You've just bought a beautiful new lamp, but there's one problem: the cables dangling through your room aren't exactly an aesthetic highlight. Fortunately, there's a simple solution: a cable duct on the ceiling. This is an easy way to neatly hide the cables and make your space look sleek.
You install a ceiling cable duct in four steps: choose and measure the route, cut the duct to size, attach it straight with suitable plugs and screws, and lay the cable inside without tension. The steps below explain each part. Get help if you are unsure how to work safely around electricity.
Step 1: Preparing for the job
Before you get started, it's important to prepare well. Make sure you have the right materials and tools on hand so you don't have to rush to the hardware store halfway through your project. Here's what you need:
- Cable duct (in the right size)
- Screws and wall plugs
- Drill and drill bits (depending on your ceiling type)
- Measuring tape and spirit level
- Pencil for marking
Safety tip: make sure the power is turned off before working with electricity! Always double-check this to prevent accidents.
Then measure carefully where the cable duct should go. Use your measuring tape and spirit level to ensure the duct hangs perfectly straight. Good preparation ensures a sleek finish!
Step 2: Cutting the cable duct to size
Now that you've measured everything, you can cut the cable duct to size. Carefully measure the length of the space where the cable duct should go and cut it to size with a handsaw or miter saw.
Make sure you keep the final length slightly longer than needed, so you always have some room to maneuver when placing the cables. It's easier to cut off a bit later than to buy a new duct because you measured too short!
Step 3: Attaching the cable duct
Now comes the fun part: attaching the cable duct to the ceiling. Start by marking the spots where you'll drill the screws into the ceiling. Use the cable duct as a template by holding it against the ceiling and marking the drill holes with a pencil.
Then drill the holes at the marked spots and place the wall plugs. Use the right size drill bit, matching the wall plugs, to ensure the screws hold firmly.
Pro tip: use your spirit level to ensure the cable duct hangs straight. Nothing is as annoying as a crookedly placed duct, especially when it's immediately noticeable on the ceiling.
Step 4: Neatly hiding the cables
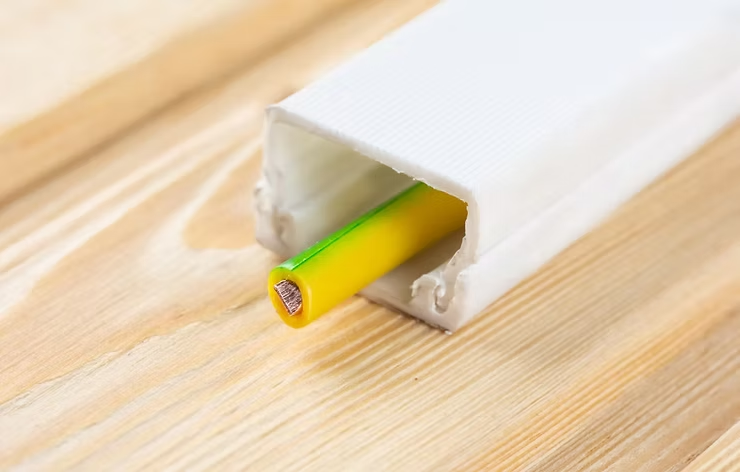
Now that your cable duct is in place, you can lay the cables inside. Make sure the cables lie loosely in the duct so there's no tension on the cables. This prevents the cables from getting damaged or wearing out faster.
Then neatly close the duct with the provided cover. Some cable ducts have a click system, others have small screws. In both cases, it's important that the cables are neatly hidden and the cover closes properly.
Extra Tips and Tricks for a sleek finish
For an even sleeker finish, you could consider painting the cable duct the same color as the ceiling. This makes the duct less noticeable and the whole thing looks more subtle.
Do you have tricky corners or uneven ceilings? Then use flexible cable ducts, which adapt more easily to the shape of your ceiling. These are a bit more expensive, but save you a lot of hassle.
Get help installing the cable duct through Helprr
Would you rather not install the cable duct yourself? Post the job on Helprr and describe where the duct should run, which lamp you are using, and what materials are already available. Helpers can then decide whether the job suits them.
Include measurements, photos of the ceiling, and details about the cable route in your job. You can compare responses and agree on the work, timing, and budget.
Want more tips for home improvement tasks? Also read our other blogs about how to assemble a PAX wardrobe or how to fix a leaking tap!